How to developt for ESP32 using the Arduino IDE
- automatelabonline
- Feb 16
- 4 min read

Updated: Feb 26
The ESP32 is one of the most popular platforms for developing electronic and IoT (Internet of Things) projects, and it's not by chance. With its variety of features, integrated Wi-Fi and Bluetooth connectivity, and affordable price, the ESP32 offers a wide range of possibilities for engineers, makers, and hobbyists.
One of the simplest and most practical ways to program these boards is by using the Arduino IDE. The familiarity and simplicity of this platform make the development process accessible to beginners, while its robust features meet the needs of even the most experienced developers.
In this article, we will explore how to program ESP32 boards with the Arduino IDE, taking advantage of the ESP32's versatility and the ease of use of this IDE to create amazing and innovative projects.
Downloading the App
To get started with programming the ESP32 in the Arduino IDE, the first step is to install the software. It can be installed directly from the Arduino website.
There are two versions of the Arduino IDE. It is recommended to install version 2, as the first version of the software is outdated and may not be updated with future features.
Once the software is installed, it will not yet be compatible with the ESP32 boards. You will need to install the ESP32 board model in the IDE.
Installing the ESP32 boards
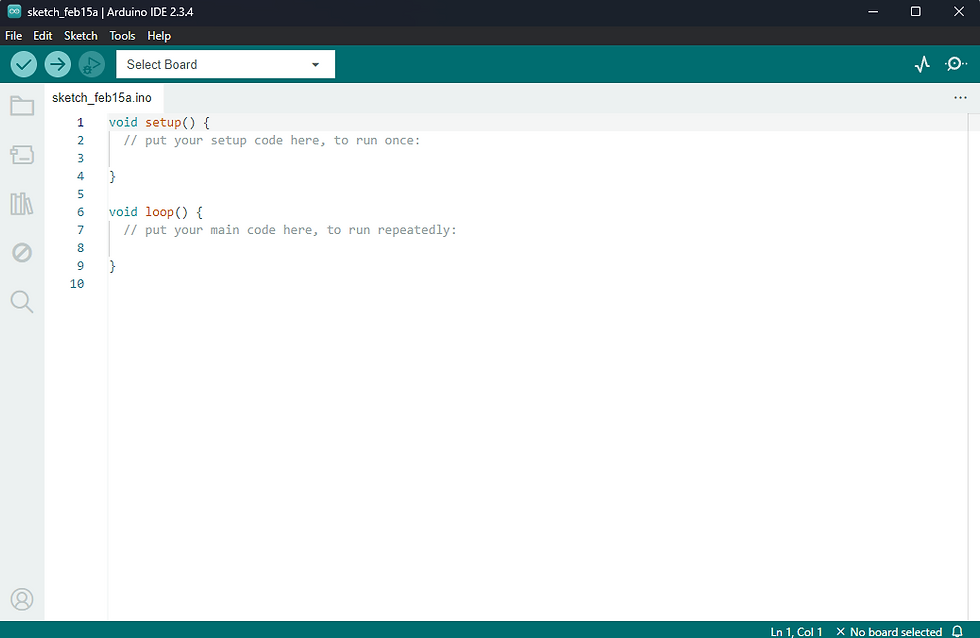
When you start the program, a new project will be created.
In order for the boards to be supported by the IDE, click on File -> Preferences.

In Additional Boards Manager URLs, enter the following link:

Click OK. Then, click on Tools -> Board -> Board Manager.

If you are using Arduino IDE version 1, a window will appear with a search bar. If you're using version 2, a sidebar will appear. The steps are the same for both cases. Search for ESP32 and install the package called esp32, provided by Espressif Systems.

After installation, when you click on Tools -> Board, the ESP32 category will appear.

Hovering over this option will display several board models. Simply select the model of your board, and you'll be able to compile the code for your ESP32 board. If you're unsure of your board model, I recommend trying with ESP32 Dev Module.

Finding the board's COM port
When you connect your board via USB to the computer, you can check which serial port is being used through the Device Manager on Windows. Click on the Windows search bar and type "Device Manager". Once this program is open, click on Ports (COM & LPT). This will give you access to all the available serial ports on your computer.
The ESP32 board should generate a port named Silicon Labs CP210x USB to UART Bridge, or something similar, as shown in the image below. In this case, the board is on COM4. The port number may be different on your computer.

If you are using a Linux distribution, you can check the USB devices by typing the command lsusb . The ports will be listed. On a Mac, you can do this in the System Information window. In the sidebar, expand the Hardware section and click on USB.
If your board doesn't generate a port with that name or something similar, you may need to install the driver for communication with the ESP32. This driver is called CP210x and can be installed through this link. Once installed, try disconnecting and reconnecting your USB cable. From now on, your board should be recognized by the computer.
Once you've identified your serial port, you can upload the code to your board. Click on Tools -> Port, and the list of available COM ports will appear. Select the one that corresponds to your ESP32.

To upload your code, simply click the arrow button at the top left, as shown in the image below. Doing this, the program will be compiled and then uploaded to the board.

If you get the following error message while trying to upload the program:
A fatal error occurred: Failed to connect to ESP32: Wrong boot mode detected (0xb)! The chip needs to be in download modeYour board needs to be in download mode for the code upload. Next to the USB port of the board, there are two buttons labeled EN and BOOT. Simply hold down the BOOT button while your code is being transferred. This will put the board into download mode.
Conclusions
In summary, programming the ESP32 using the Arduino IDE is an excellent choice for those who want to explore the vast potential of this powerful platform. The combination of the ESP32's flexibility with the simplicity and popularity of the Arduino IDE opens doors to a wide range of projects, from simple solutions to complex IoT applications.
The active community and the large number of available libraries make development even faster and more intuitive. Whether you're just starting out or already have experience in electronics, using the Arduino IDE to program the ESP32 is a practical and efficient way to bring your ideas to life. With the right tools, the sky's the limit for your creations!

Comments